
Start with one takeaway, not the whole article
A useful short video explains one idea well. If your article covers five ideas, pick the one a viewer can understand without opening the original post. Keep the source's qualifications and attribution: an example should remain an example, and a possible outcome should not become a promise.
For this guide, we use an authored focused-work example. It is a demonstration of the format, not evidence that a productivity method will work for everyone. You can watch the complete exported video before following the steps.
1. Choose the source passage
Use a passage you wrote or have permission to adapt. Start with the actual text rather than a link. In Speevid, the source URL is attribution; pasting a URL does not fetch the article.
Here is a small example to work from:
A busy calendar can leave little room for focused work. Choose one task that deserves your full attention. Close the tabs you do not need and silence notifications. Set aside 25 minutes, then take a short break. Notice what helps you concentrate, and adjust the routine to fit your day.
This gives the video a clear subject, a concrete sequence and a modest takeaway. There is no need to add a statistic or an outcome the source does not contain.
2. Paste the text and choose a target length
Create an account, start a video and paste the passage into the content field. A title is optional: Speevid can suggest one when it generates the English narration script. You can review or replace that title in the next step.
Choose a target duration that matches the size of the idea. This is a script-writing target, not a guaranteed export length. The finished video follows the spoken audio. If you need it shorter after listening, shorten the script and generate the voice again.
3. Review a script written for speaking
Select Generate narration script, then read the result aloud. A sentence that looks elegant on a page may take too long to say. Replace long introductions with a direct opening, keep the essential explanation and finish with one clear takeaway.
For example, a compact body script could be:
A crowded calendar can leave little room to concentrate.
Choose one task that deserves your attention.
Close extra tabs, silence notifications, and try a 25-minute focus block.
Take a short break afterwards.
Notice what helps, then adjust the routine to fit your day.
This is an editable example, not a claim about the exact output a model will return. Check the generated title as well: the title is part of the spoken content, so avoid repeating it as the first sentence of the body.
- Check every name, number and unit against your source.
- Keep uncertainty and conditions such as “try”, “may” and “in this example”.
- Remove details that need a second explanation to make sense.
- Keep a natural ending instead of adding a claim the article did not make.
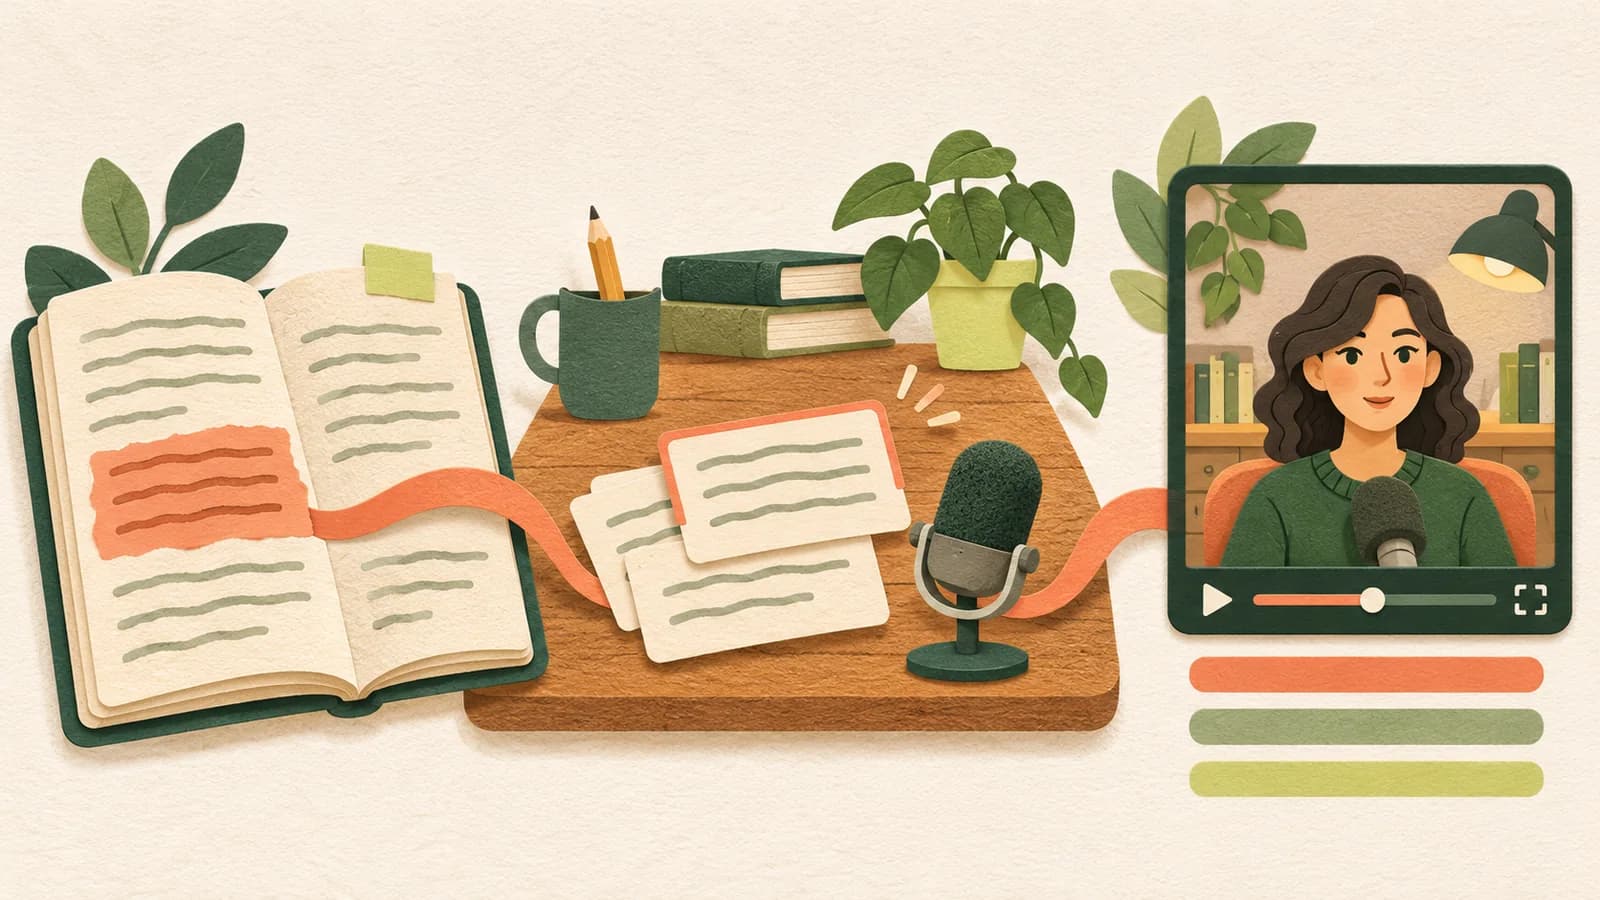
4. Choose the presenter and listen to the voice
Choose the male or female illustrated presenter, then select an English narrator. Guy and Jenny are US English options; Sonia is British English. Use Listen to compare a short sample before generating the full narration.
The presenter and voice are separate choices. Changing the illustrated character does not rewrite the script. Changing the spoken title, script or voice requires a fresh narration so the preview stays in sync.
After generating the voice, watch the preview with sound. Listen for names that need a clearer spelling and sentences that feel rushed. Make those changes before polishing individual scenes.
5. Let the visuals explain the idea
A scene does not need to display the entire sentence that is already spoken and captioned. Use a short heading and the visual structure that helps explain the point: a number, ordered steps, a comparison or a connection.
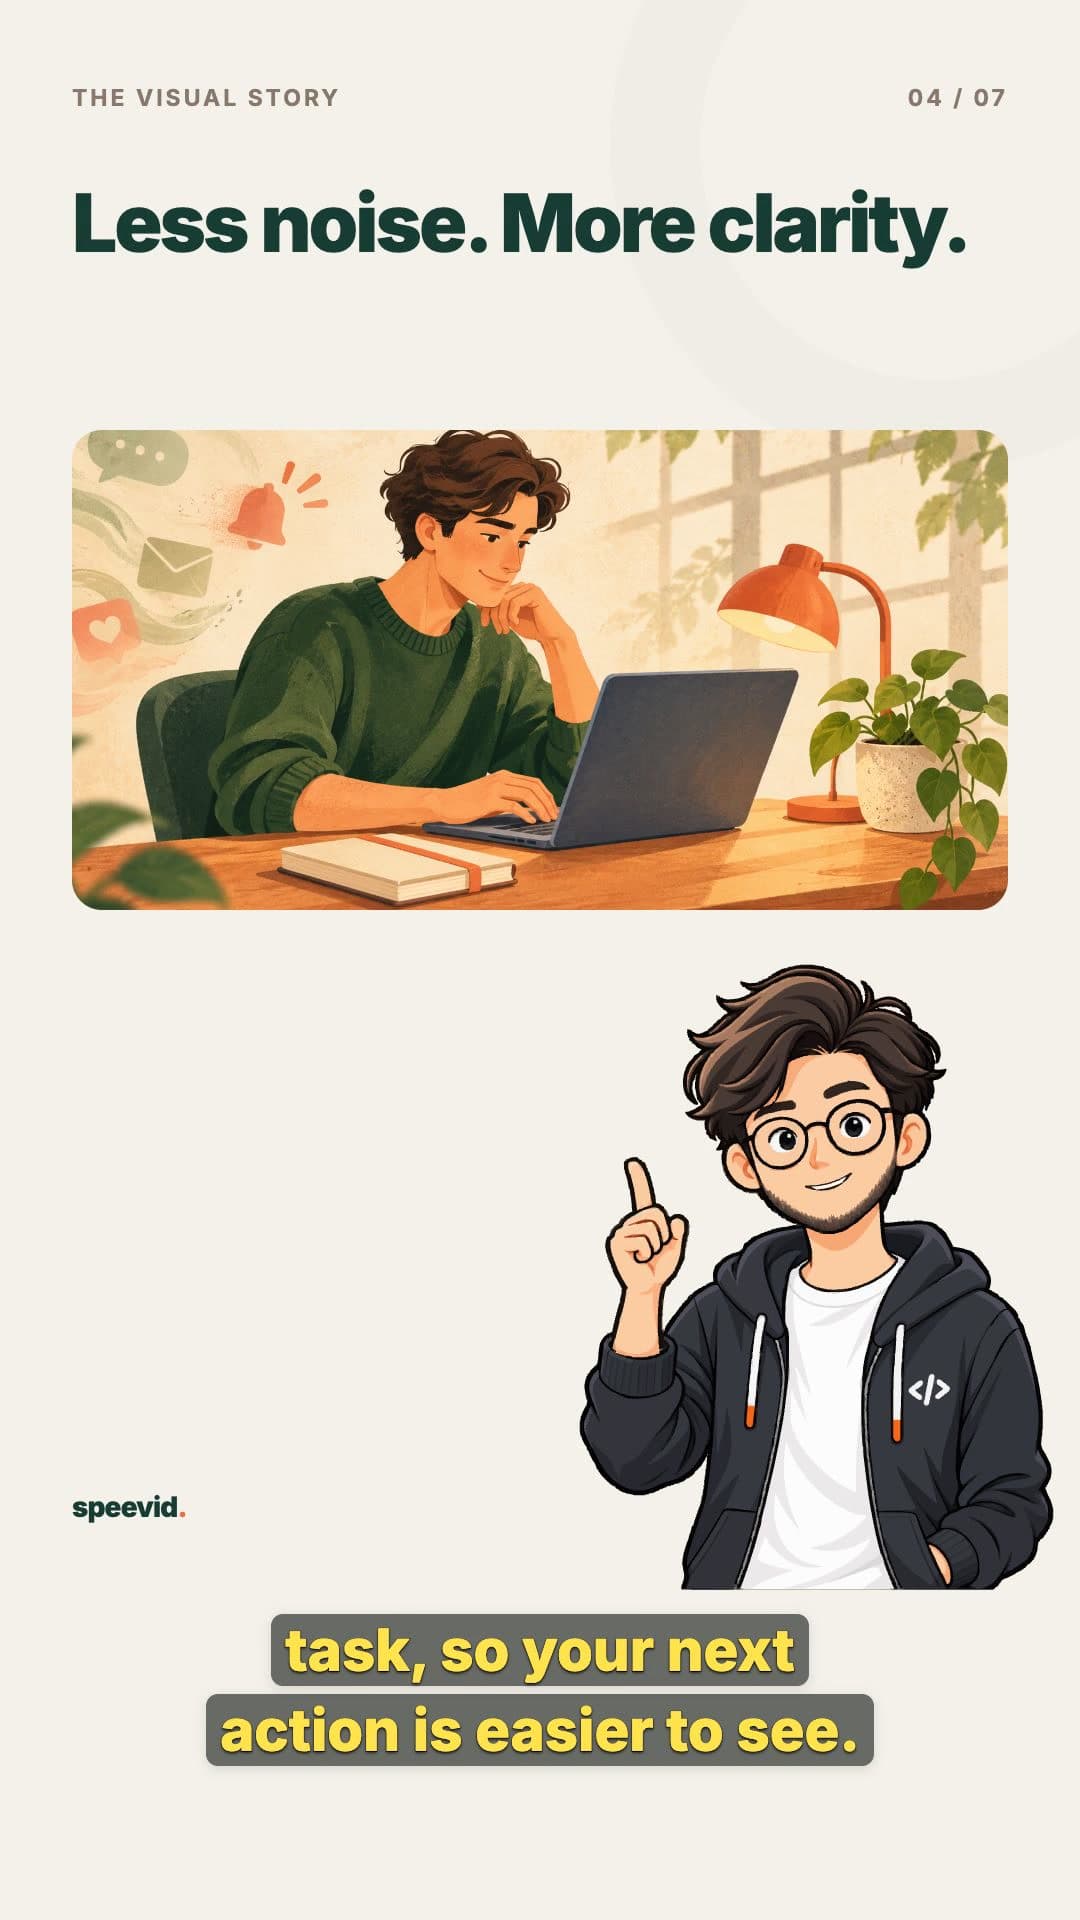
In the example, the same idea moves between a number, a step diagram, one illustration and a relationship diagram. The illustration is a concept image, not documentary evidence. The visual-selection guide explains how to choose between these treatments.
When single-scene illustrations are enabled on your deployment, you can generate or upload a candidate image, adjust its movement and focus, and explicitly save the scene. You can also keep the graphic layout. An image becoming ready is not the same as saving it into your video.
6. Export, check, then publish
Export the reviewed preview as a portrait MP4. Once the export is ready, download it and play the file from beginning to end. Check the title, pronunciation, captions and framing on the device you expect viewers to use.
Speevid creates a 1080 × 1920 video. Upload it through your own publishing workflow and inspect the platform's preview before posting. The product does not automatically publish to Instagram, YouTube or other platforms.
If the result is almost right, change the specific scene or sentence that needs work. You do not need to add more visual effects to every scene. The goal is a clear explanation that you would be comfortable sharing.
Create your first narrated video, or follow the getting started guide for the account, narration and export steps.